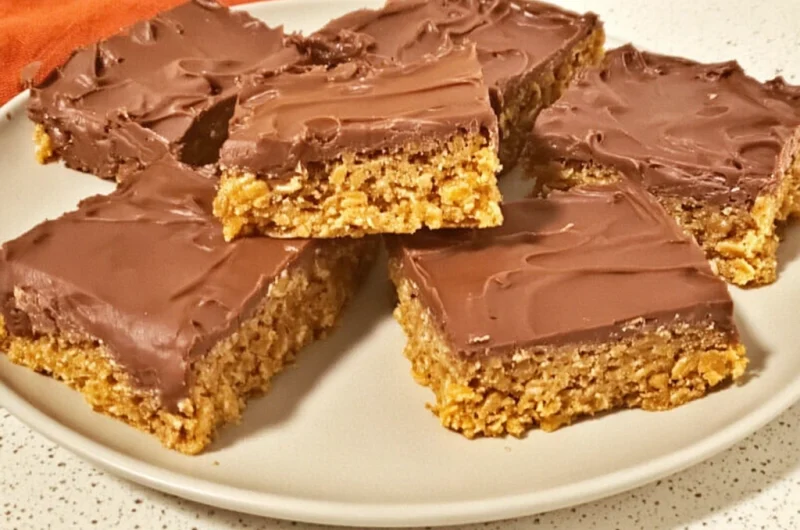
These Butterfinger Bars are a fun twist on a classic dessert and an easy sweet treat you’ll want to make again and again. The bars are moist, chewy, and packed with flavor, and I wanted to mix things up by creating something a little different, which is how these Butterfinger chip bars came to be.

They feature a creamy peanut butter and cornflake base, a rich milk chocolate chip filling, and a smooth peanut butter topping layered right on top. If you’re looking for a super-easy sweet treat recipe, these Butterfinger Bars fit the bill perfectly, and every bite delivers a nostalgic flavor that will keep you coming back for more.
Why these bars are a family favorite, firstly no fancy steps. Just simple layers and secondly perfect for road trips, potlucks, or ‘ we survived the week’ celebrations. and like sneaking one more piece when you promised yourself you were done Hahah.
So if you’re craving something nostalgic, a little messy, and so good it’s unreal, you’re in the right place. Let’s make them. And yes… licking the spoon is encouraged.
Kitchen Equipment Needed :
- Large mixing bowl
- Medium saucepan
- Rubber spatula or wooden spoon
- Measuring cups
- 9×13 inch baking dish
- Parchment paper or nonstick spray
- Microwave safe bowl or double boiler
Tips for Butterfinger Bars
– Chill the bars fully before slicing for clean edges
– If you want thicker bars use a smaller pan
– Use creamy peanut butter for the smoothest texture

– Line the pan with parchment paper to make cutting easier
– Slightly crush the cornflakes instead of fully crushing them so the bars stay crunchy
What to Eat with Butterfinger Bars ??
Butterfinger bars are rich, crunchy, and extra indulgent, so I like pairing them with simple, cozy drinks. At home, my kids love enjoying them with a glass of cold strawberry milk or warm hot chocolate after school.
My husband enjoys them as a movie-night dessert.
Ingredients :
– Creamy peanut butter forms the base of the filling and gives the bars their rich, nutty flavor.
– Powdered sugar sweetens the peanut butter layer and helps it set perfectly without being grainy.
– Butter adds richness and helps bind the base together. Unsalted butter keeps the sweetness balanced.
– Chocolate chips create that classic chocolate topping and melt into a smooth, glossy layer.
– Vanilla extract enhances the peanut butter and chocolate flavors.
How to Make Butterfinger Bars :
Step 1
The first thing you’ll do prepare your baking dish by lining it with parchment paper or lightly greasing it so the bars are easy to lift out later. Set it aside so it is ready once the mixture is done.
Step 2
Next place the peanut butter sugar and corn syrup into a medium saucepan. Heat the mixture over medium heat while stirring constantly.

Keep stirring until everything melts together and becomes smooth. You want the mixture hot and combined but not boiling. This step helps the bars hold together and gives them that classic chewy texture.
Step 3
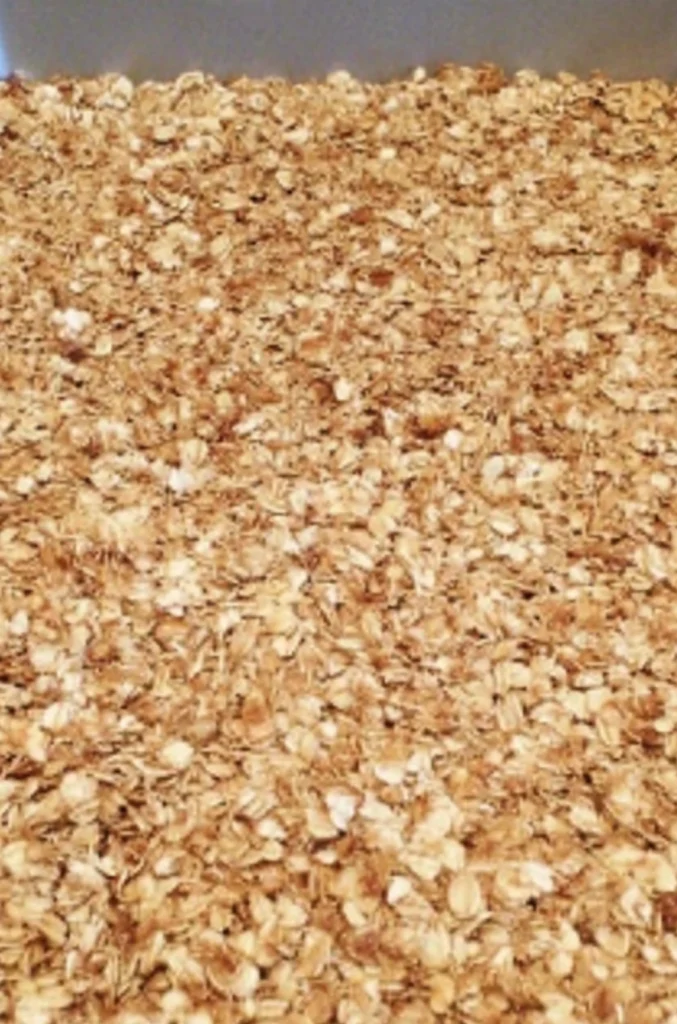
Moving on to remove the saucepan from the heat. Slowly add the crushed cornflakes into the warm peanut butter mixture. Stir gently so the cereal stays crunchy but is fully coated. Take your time here so every bite gets that perfect mix of sweet and crunchy.
Step 4
Follow up by pour the cereal mixture into the prepared baking dish. Use a spatula or the back of a spoon to press it down evenly. Press firmly but gently so the bars hold together without crushing the cereal too much. Set the pan aside while you prepare the chocolate topping.
Next up in a microwave safe bowl combine the chocolate chips and the remaining peanut butter. Heat in short intervals stirring between each one until the mixture is smooth and glossy. You can also melt it using a double boiler if you prefer.

Step 5
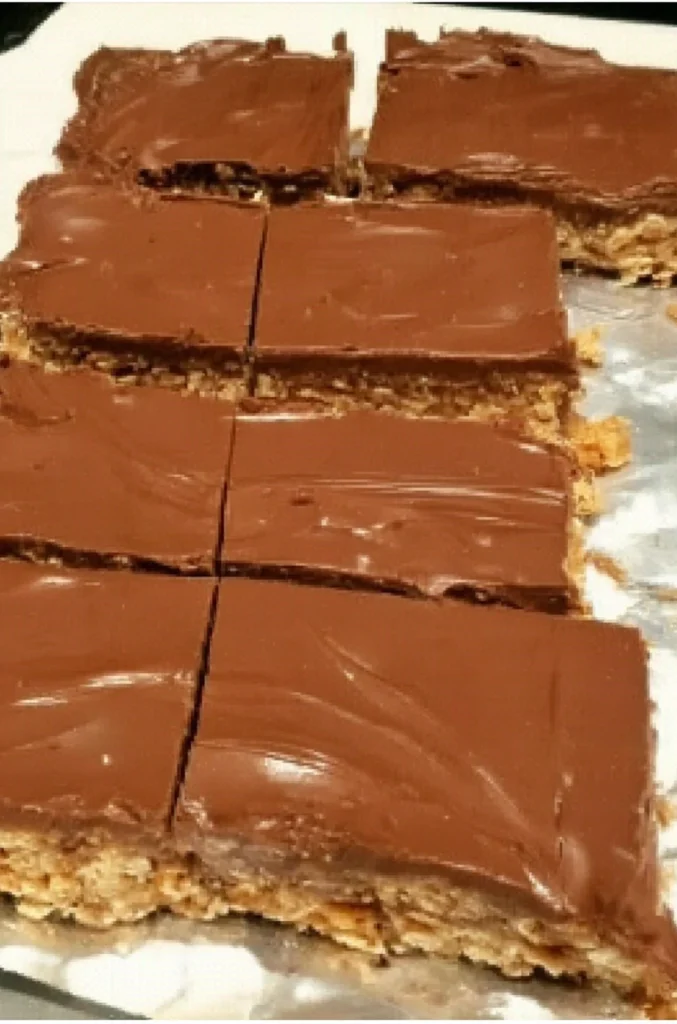
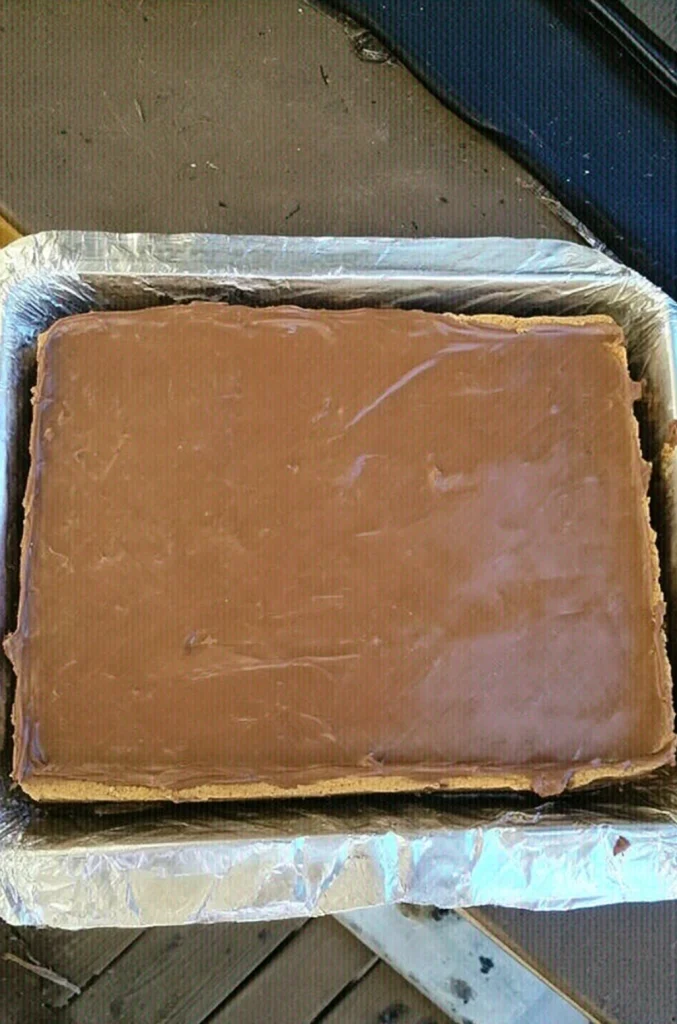
Proceed with pour the melted chocolate mixture over the pressed cereal layer. Spread it evenly from edge to edge so every bar gets a chocolate topping. Place the pan in the refrigerator for about one hour or until fully set.
Step 6
To complete the recipe once firm lift the bars out using the parchment paper and cut into squares or rectangles. And enjoy.
FAQ’S :
Can I use crunchy peanut butter ?
Yes, you can but the texture will be more chunky.
Are Butterfinger Bars baked ?
No, these bars are no bake which makes them quick and easy.
Can I use dark chocolate instead ?
Yes, dark chocolate works if you prefer less sweetness.
What cereal works best ?
Classic cornflakes give the best crunch and flavor.
Do these taste like real Butterfingers ?
Yes, they have that same peanut butter crunch flavor.
SAVE THIS POST TO YOUR FAVORITE PINTEREST BOARD !

Butterfinger Bars
Course: Dessert, BarsCuisine: AmericanDifficulty: Easy16
servings15
minutes10
minutes220
kcal25
minutesButterfinger Bars are easy no-bake peanut butter chocolate bars with a crunchy cornflake center that taste just like the classic candy bar but homemade and family friendly.
Ingredients
1 cup creamy peanut butter
1 cup granulated sugar
1 cup light corn syrup
5 cups cornflakes cereal gently crushed
2 cups milk chocolate chips
½ cup creamy peanut butter for topping
Directions
- The first thing you’ll do prepare your baking dish by lining it with parchment paper or lightly greasing it so the bars are easy to lift out later. Set it aside so it is ready once the mixture is done.
- Next place the peanut butter sugar and corn syrup into a medium saucepan. Heat the mixture over medium heat while stirring constantly. Keep stirring until everything melts together and becomes smooth. You want the mixture hot and combined but not boiling. This step helps the bars hold together and gives them that classic chewy texture.
- Moving on to remove the saucepan from the heat. Slowly add the crushed cornflakes into the warm peanut butter mixture. Stir gently so the cereal stays crunchy but is fully coated. Take your time here so every bite gets that perfect mix of sweet and crunchy.
- Follow up by pour the cereal mixture into the prepared baking dish. Use a spatula or the back of a spoon to press it down evenly. Press firmly but gently so the bars hold together without crushing the cereal too much. Set the pan aside while you prepare the chocolate topping.
- Next up in a microwave safe bowl combine the chocolate chips and the remaining peanut butter. Heat in short intervals stirring between each one until the mixture is smooth and glossy. You can also melt it using a double boiler if you prefer.
- Proceed with pour the melted chocolate mixture over the pressed cereal layer. Spread it evenly from edge to edge so every bar gets a chocolate topping. Place the pan in the refrigerator for about one hour or until fully set.
- To complete the recipe once firm lift the bars out using the parchment paper and cut into squares or rectangles. And enjoy.
Notes
- Lightly crush the cornflakes so they stay crunchy and do not turn powdery.
- Press the mixture firmly into the pan so the bars hold together when sliced.
- Use creamy peanut butter for the smoothest and most classic Butterfinger texture.
- Melt chocolate slowly and stir often to avoid scorching.
- Milk chocolate gives the most candy-bar-like flavor but dark chocolate works too.
- Use a sharp knife and wipe it clean between cuts for neat slices.
- Store bars in an airtight container to keep them fresh and chewy.