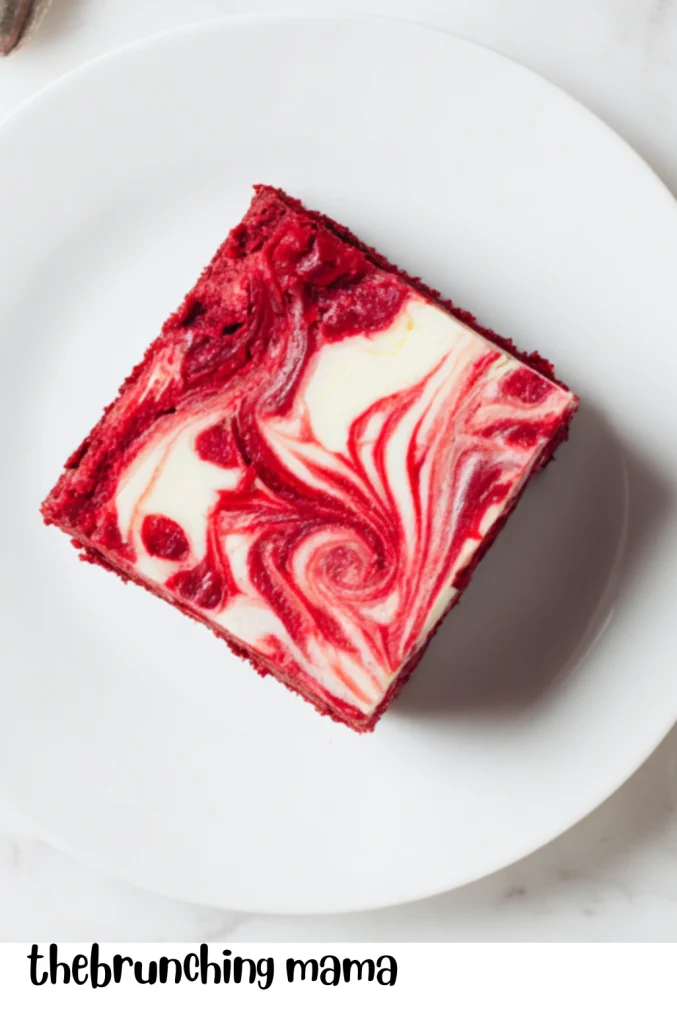
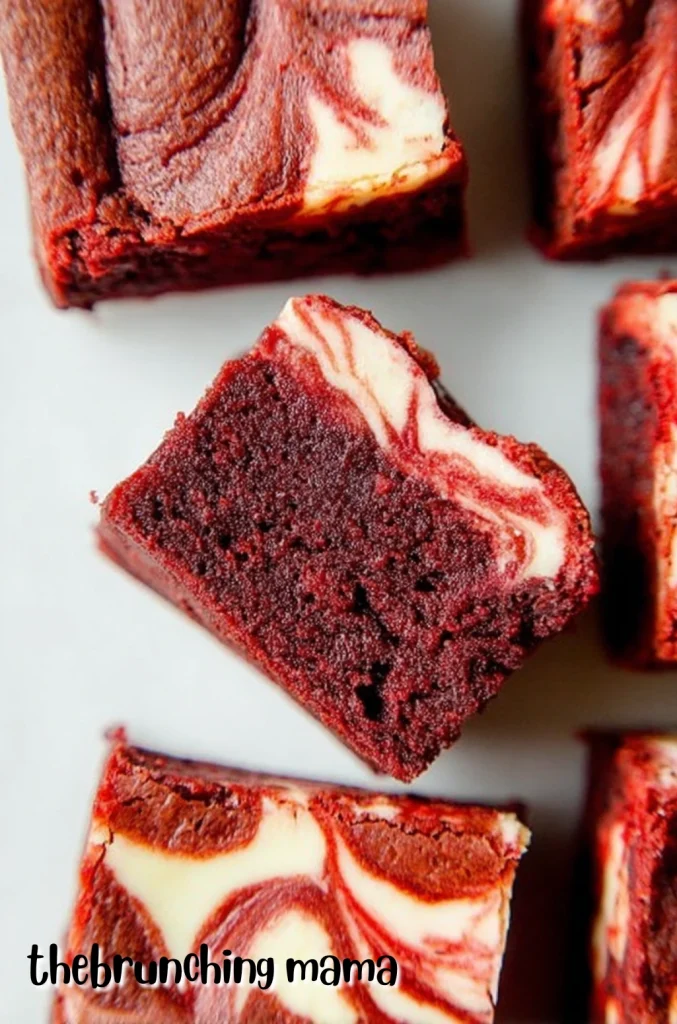
Red Velvet Brownies are a delicious, decadent dessert recipe. If you like rich brownies, then you will love these easy Red Velvet Brownies! A perfect dessert recipe for holidays where love is shared with family and friends.
This recipe uses melted semi-sweet chocolate chips with a topped with a silky cream cheese frosting to create extra-rich red velvet brownies with a dense, fudgy texture.
After testing multiple versions to get the flavor Brownies just right like Easy Banana Bread Brownies and Easy Blonde Orange Brownies this one delivers that deep red velvet taste. If you have a crowd that loves sweets? Try these reader-loved recipes.
Kitchen Equipment Needed :
Before you start, gather these basic kitchen tools to make baking smooth and stress-free :
- Mixing bowls one large, one medium
- Measuring cups and spoons
- Whisk or wooden spoon
- Rubber spatula
- 8×8-inch or 9×9-inch baking pan
- Parchment paper or non-stick spray
- Cooling rack
- Knife for slicing
Tips for Red Velvet Brownies
– If you don’t have red food coloring, you can still make the brownies, but they’ll look more like chocolate brownies.
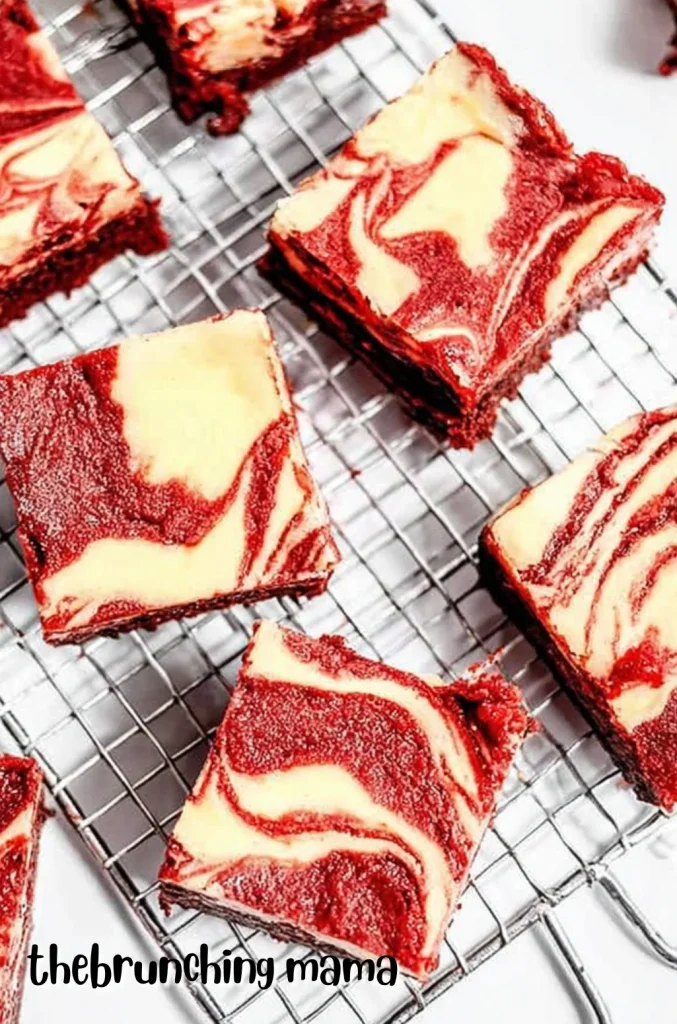
– For extra fudgy brownies, slightly underbake them by 1–2 minutes.
– Use room-temperature eggs for smoother batter.
– Line your pan with parchment paper hanging over the sides for easy lifting.
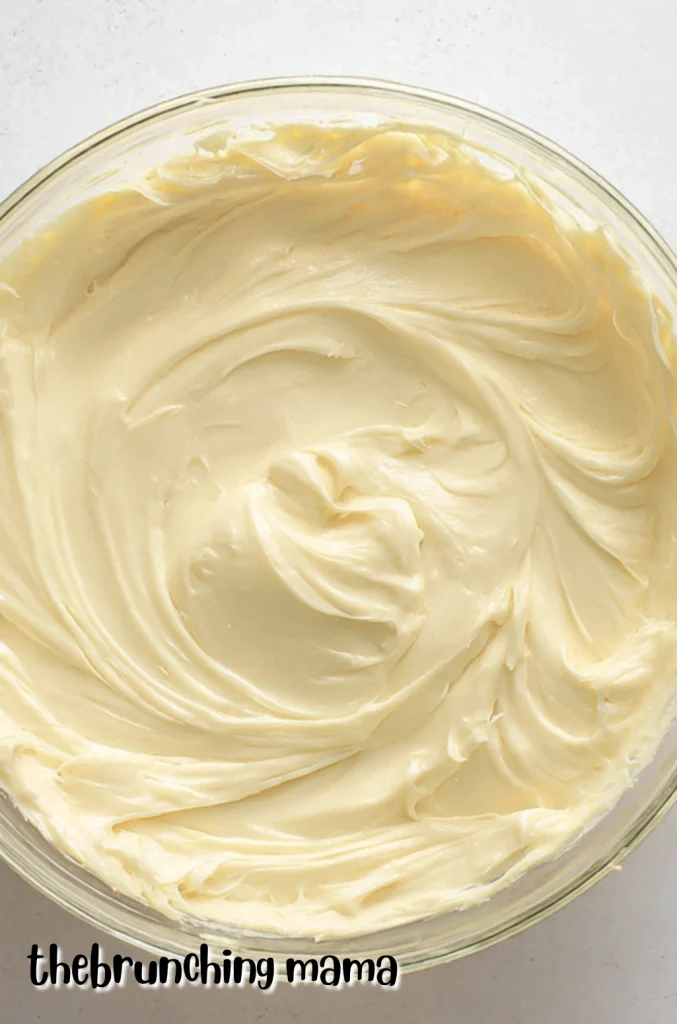
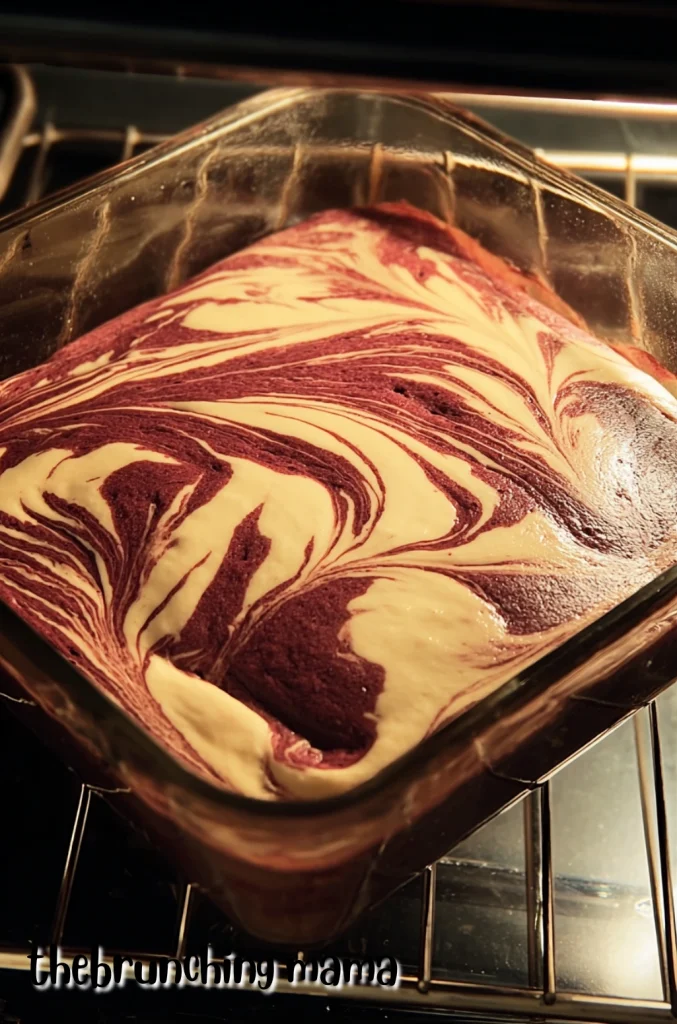
– Want a cream cheese swirl? Drop spoonfuls of sweetened cream cheese on top and swirl with a knife before baking.
What to Eat with Red Velvet Brownies ??
Red velvet brownies are rich, fudgy, and perfectly indulgent, making them ideal for holidays, bake sales, or an easy family dessert night. I love serving them with something creamy on the side, like my White Chocolate Mousse with Cream Cheese for an extra-special treat. They’re also delicious paired with a simple scoop of vanilla ice cream.
When we’re enjoying these brownies for a cozy afternoon snack, I’ll add something fun to drink like my Banana Milk for kids.
Ingredients you need to make :
– All-purpose flour forms the base of the brownies and gives them structure while keeping.
– Cocoa powder adds that subtle chocolate flavor that makes red velvet unique without overpowering it.
– Butter or oil adds richness and keeps the brownies moist.
– Sugar sweetens the brownies and helps create that tender texture.
– Eggs bind everything together.
– Red food coloring gives the brownies their signature vibrant red color.
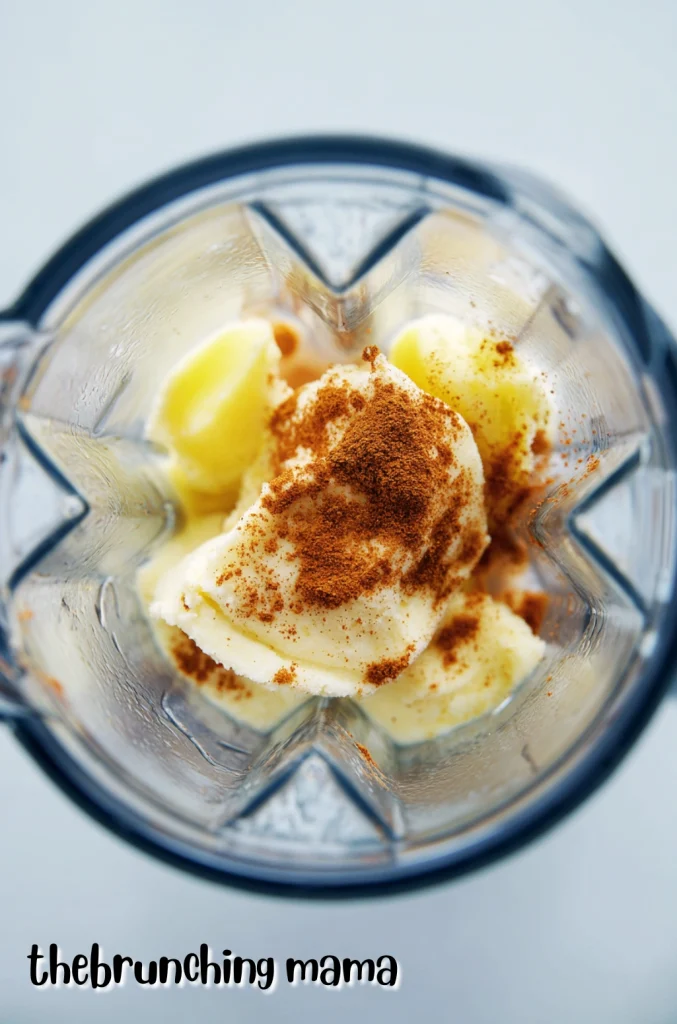
– Optional : cream cheese swirl adds richness and that classic red velvet contrast
How to Make Red Velvet Brownies :
Step 1
Start by preheating your oven to 350°F (175°C). Line your baking pan with parchment paper or lightly grease it with butter or non-stick spray. This makes it much easier to lift the brownies out later and keeps them from sticking.
Step 2
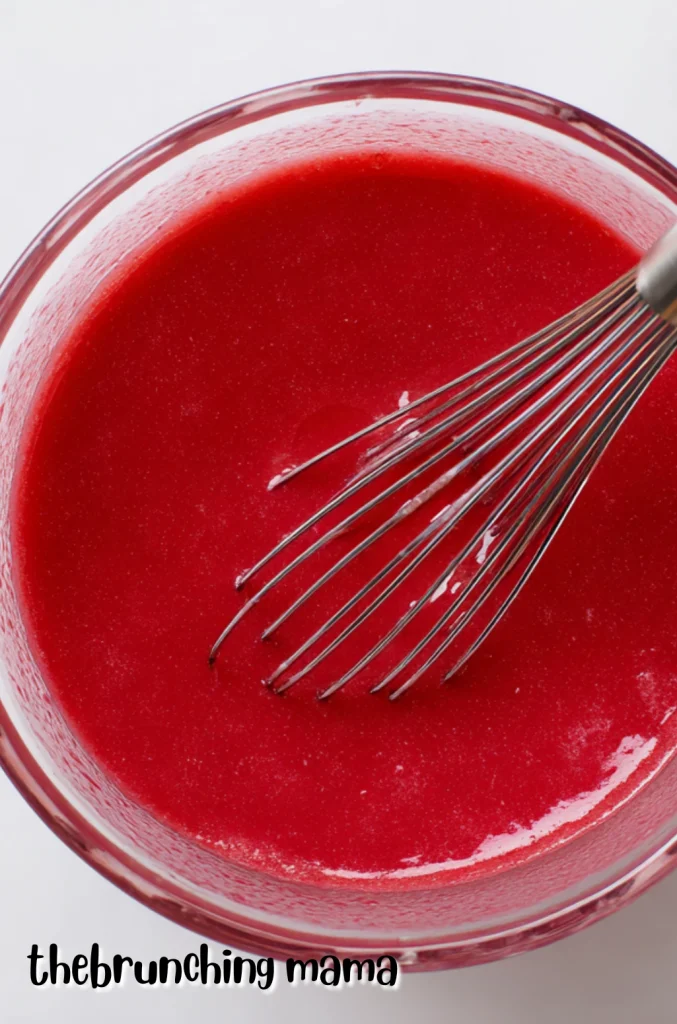
At this point in a large mixing bowl, add the melted butter and sugar. Whisk them together until smooth and slightly shiny. Add the eggs one at a time, mixing well after each one. Stir in the vanilla extract, red food coloring, and vinegar. The batter should look bright red and smooth.
Work your way to in a separate bowl, mix the flour, cocoa powder, salt, and baking powder. Stir them together so everything is evenly combined. This helps prevent lumps and makes sure the brownies bake evenly.
Step 3
The process continues with slowly add the dry ingredients into the wet ingredients. Use a spatula or spoon to gently fold everything together. Mix just until you don’t see dry flour anymore. If you’re adding chocolate chips, fold them in now. Be careful not to overmix, or the brownies can turn out tough.
Step 4
Coming up next pour the batter into your prepared pan and spread it evenly. Place the pan in the oven and bake for 25–30 minutes. The top should look set, and a toothpick inserted in the center should come out with a few moist crumbs not wet batter.
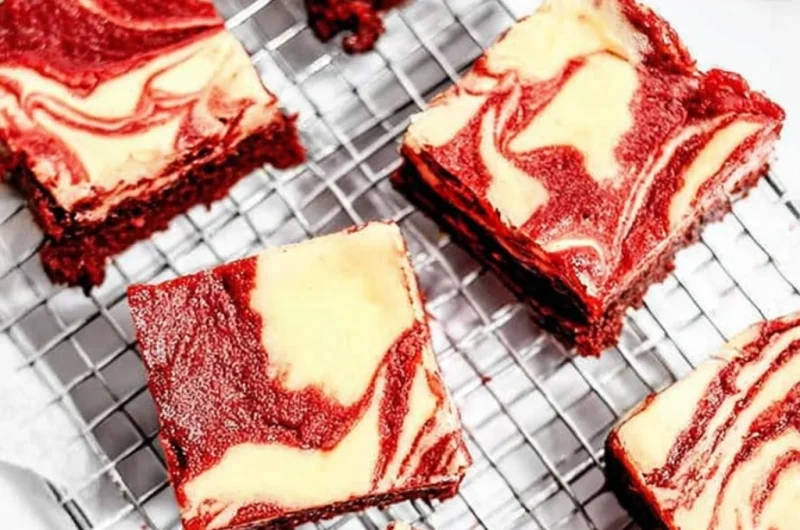
Step 5
Just before serving remove the brownies from the oven and let them cool in the pan for about 15–20 minutes. Then lift them out using the parchment paper and let them cool completely on a rack before slicing. This helps them hold their shape and makes cleaner cuts.
FAQ’S :
Do I have to use vinegar with red velvet brownies ?
Yes, but don’t worry you won’t taste it. It helps create the classic red velvet flavor.
Can I make red velvet brownies without food coloring ?
You can, but they won’t be red. The taste will still be delicious.
How do I know when the red velvet brownies are done ?
The edges should look set.
Can I add nuts to this red velvet brownies ?
Yes, chopped walnuts or pecans work well if you like crunchy brownies.
SAVE THIS POST TO YOUR FAVORITE PINTEREST BOARD !

Red Velvet Brownies
Course: Dessert, BrowniesCuisine: AmericanDifficulty: Easy9
servings15
minutes30
minutes280
kcal45
minutesSoft, fudgy Red Velvet Brownies with a light chocolate flavor and a beautiful red color. Easy to make in one bowl and perfect for family desserts, parties, or sweet cravings.
Ingredients
1 cup (125 g) all-purpose flour
2 tablespoons unsweetened cocoa powder
½ teaspoon salt
½ teaspoon baking powder
½ cup (115 g) unsalted butter, melted
1 cup (200 g) granulated sugar
2 large eggs room temperature
1 teaspoon vanilla extract
1 tablespoon red food coloring
1 teaspoon white vinegar
Optional : ½ cup (85 g) chocolate chips
Directions
- Start by preheating your oven to 350°F (175°C). Line your baking pan with parchment paper or lightly grease it with butter or non-stick spray. This makes it much easier to lift the brownies out later and keeps them from sticking.
- At this point in a large mixing bowl, add the melted butter and sugar. Whisk them together until smooth and slightly shiny. Add the eggs one at a time, mixing well after each one. Stir in the vanilla extract, red food coloring, and vinegar. The batter should look bright red and smooth.
- Work your way to in a separate bowl, mix the flour, cocoa powder, salt, and baking powder. Stir them together so everything is evenly combined. This helps prevent lumps and makes sure the brownies bake evenly.
- The process continues with slowly add the dry ingredients into the wet ingredients. Use a spatula or spoon to gently fold everything together. Mix just until you don’t see dry flour anymore. If you’re adding chocolate chips, fold them in now. Be careful not to overmix, or the brownies can turn out tough.
- Coming up next pour the batter into your prepared pan and spread it evenly. Place the pan in the oven and bake for 25–30 minutes. The top should look set, and a toothpick inserted in the center should come out with a few moist crumbs not wet batter.
- Just before serving remove the brownies from the oven and let them cool in the pan for about 15–20 minutes. Then lift them out using the parchment paper and let them cool completely on a rack before slicing. This helps them hold their shape and makes cleaner cuts.
Notes
- Slightly underbaking the brownies will give you a fudgier texture once they cool.
- Line your baking pan with parchment paper to easily lift the brownies out in one piece.
- For a cream cheese version, swirl sweetened cream cheese on top before baking.
- These brownies taste even better the next day as the flavors settle.
- Avoid using dark cocoa powder, as it can dull the red color.