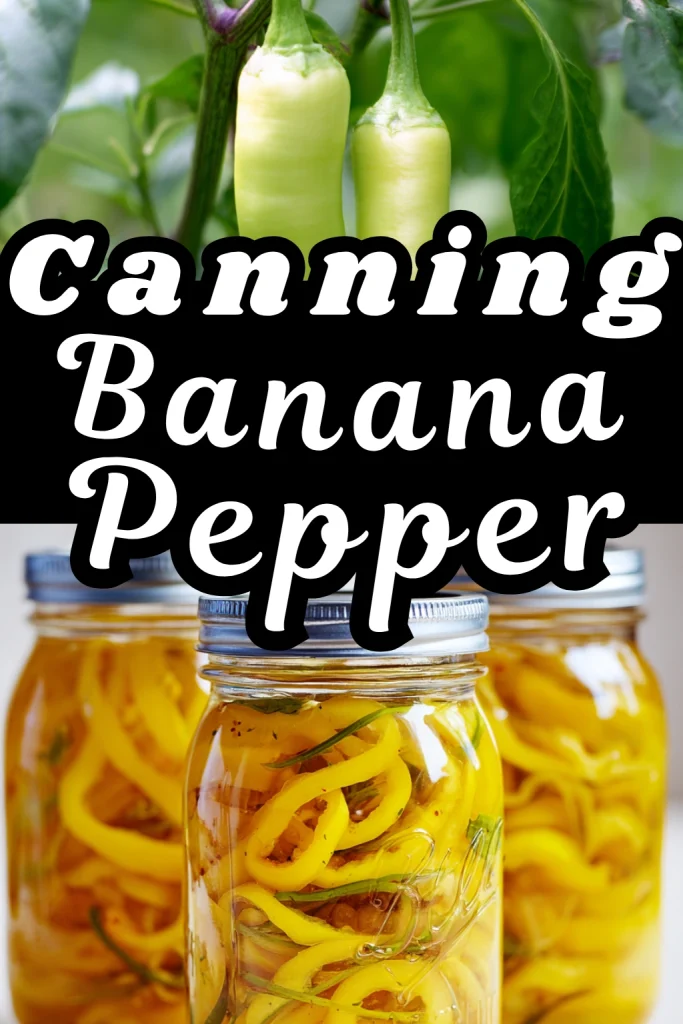
Easy Canning Banana Pepper perfectly blends a lot spicy into a delicious spread. Perfect for serving with Texas Roadhouse Butter Chicken Skillet or any recipes in dinner.
This Canning Banana Pepper is the classic homemade version Canning recipes to the super popular in all states.
Canning banana peppers always brings me back to those summers at Grandma’s because you know the ones with the sun blazing and the kitchen steaming while jars were everywhere. Honestly though, it was chaos but good chaos.
When I first tried canning on my own, I was a nervous wreck because I burnt my finger twice and dropped pepper juice all over the counter, so I swore I’d never try again.After week I decided to try again but then I tasted them, and it was a game changer because they were like “eat jar in with all recipes in day” good.
Have you ever tried your hand at canning banana peppers, If you haven’t, buckle up because you’re about to become obsessed and if you have, trust me because this recipe is the real deal. It’s simple and a little messy but what good thing isn’t.and totally worth it.
Ready.
Then let’s do this!
Ingredients :
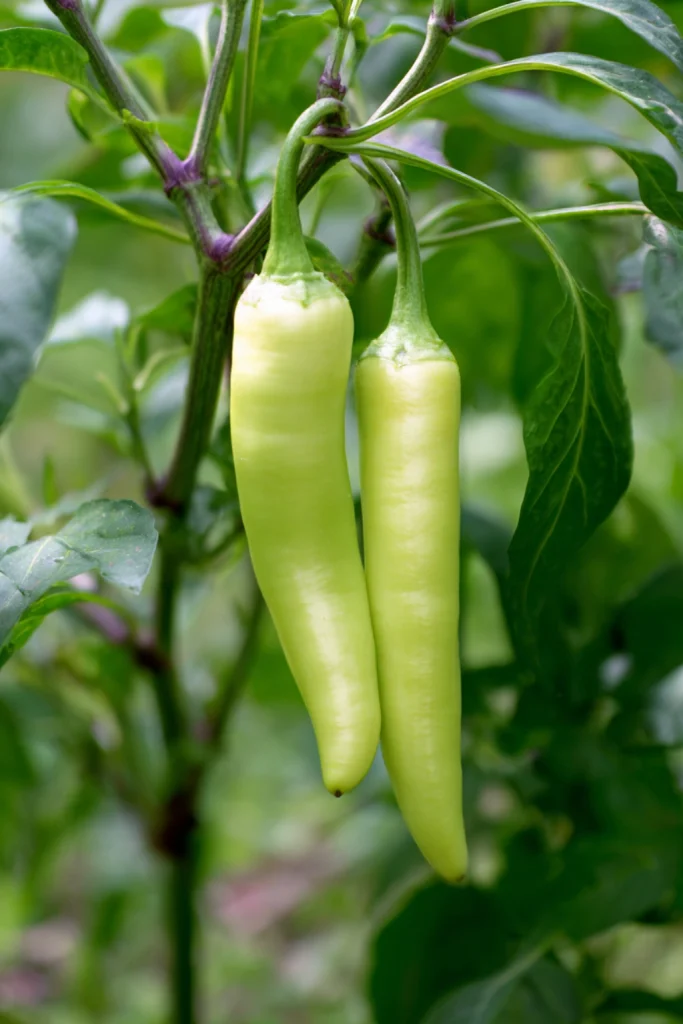
- 3 pounds of fresh banana peppers about 15–20 peppers
- 5 cups white vinegar 5% acidity
- 1 cup water
- 2 tablespoons pickling salt or kosher salt, no iodine
- 2 tablespoons sugar
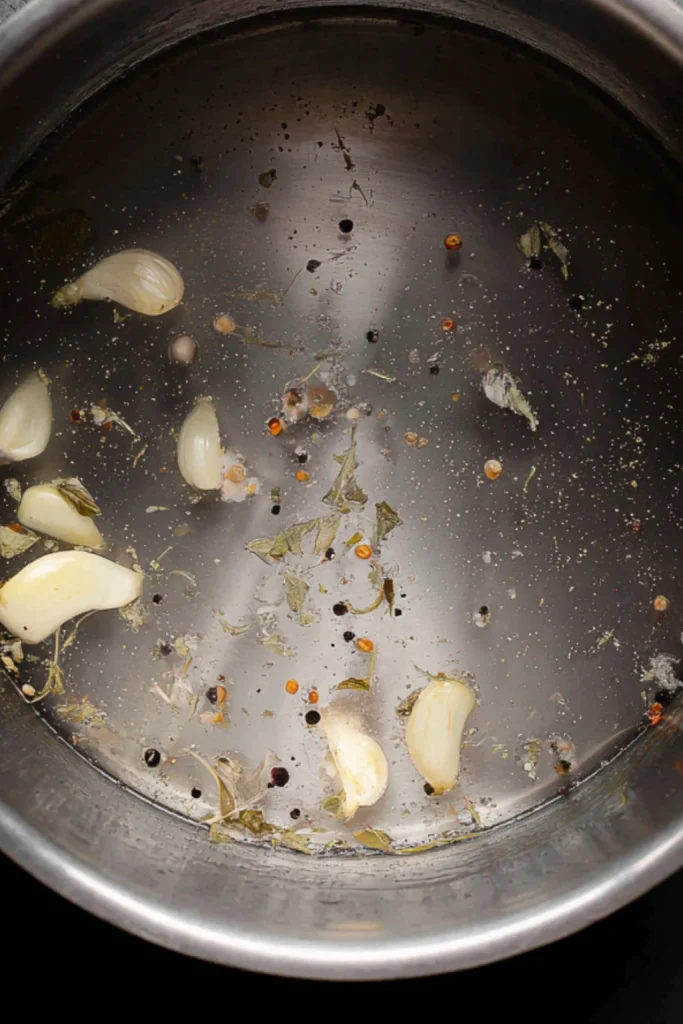
- 3 cloves garlic optional, peeled and sliced
- 1 teaspoon mustard seeds per jar optional
- ½ teaspoon red pepper flakes per jar optional, for a spicy kick
How to Make Canning Banana Pepper
Step 1
The first thing you need to do is prepare the jars: Wash the jars, lids, and bands with hot, soapy water. Rinse them thoroughly. Place the jars in a large canner filled with hot not boiling water. Keep them hot while you prepare the peppers.
Step 2
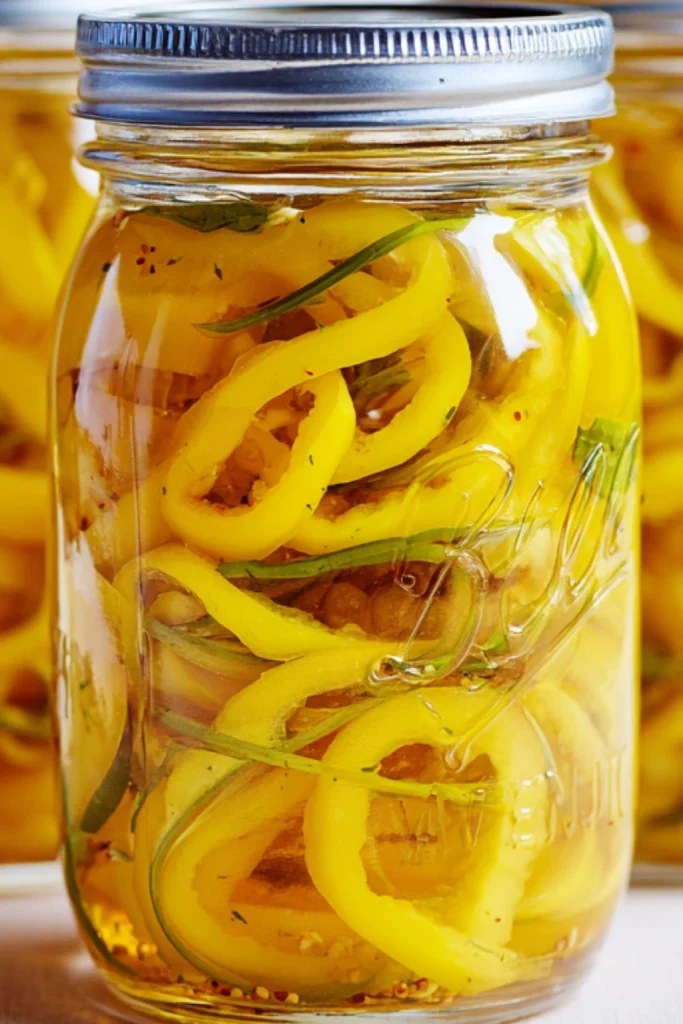
Next, slice the peppers: Wash the banana peppers. Remove the stems and slice them into rings about 1/4 inch thick. If you prefer whole peppers, make a small slit in each one to allow the brine to absorb.
Step 3
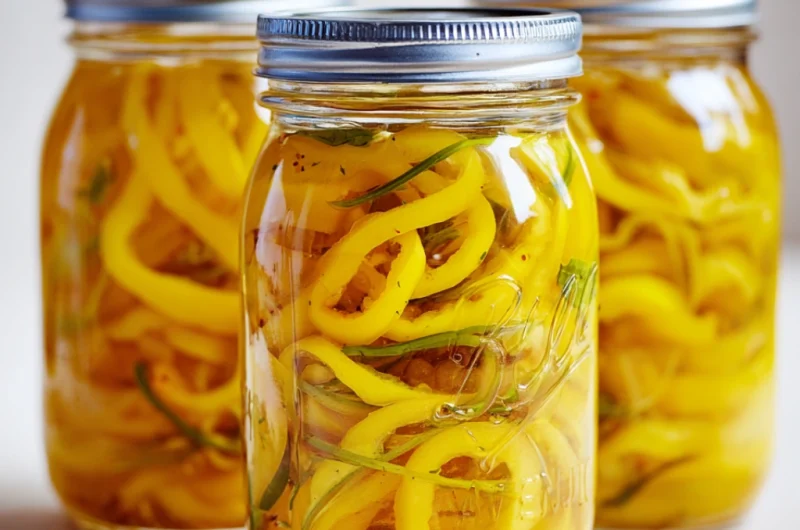
Now, let’s prepare the brine: In a large pot, combine the vinegar, water, salt, and sugar. Bring the mixture to a boil over low heat. Stir well to completely dissolve the salt and sugar. Then, arrange the jars: Carefully remove one hot jar at a time. Place a few garlic slices if using and optional seasonings in the bottom. Place the banana pepper slices tightly in the jar, leaving about 1/2 inch of space at the top.
Step 4
Add the brine: Use a ladle and funnel to pour the hot brine over the peppers until they are completely covered. Leave about 1/2 inch of space at the top. Remove any air bubbles: Use a non-metallic spoon or butter knife to run it along the inside rim of the jar to release any trapped air. Wipe the rim with a damp cloth. Then, seal the jars: Place the lids on the jars and twist the bands until they are airtight. Do not overtighten them.
Step 5
Water bath processing: Place the sealed jars in boiling water in the canner. Ensure the water covers the jars by at least 2.5 cm. Process for 10 minutes and adjust the height if necessary. Finally, cool and store: Remove the jars and let them cool, undisturbed, for 12–24 hours. Ensure the lids are secure they should not pop off when pressed. Label the jars with the date.
Kitchen Equipment Needed :
To make these yummy Canning Banana Pepper, you’ll only need a few basic kitchen tools
- Large pot for boiling the brine
- Canning jars with lids and bands about 5 pint-sized jars
- Jar lifter or tongs
- Large canning pot or water bath canner
- Funnel for clean jar filling
- Ladle
- Clean towel or paper towels
- Cutting board and sharp knife
Tips for Making the Best Canning Banana Pepper
Always wear gloves when cutting peppers to avoid skin irritation.
Add sliced onions or carrots for a flavorful mix.
Adjust sugar or add honey for a sweeter version.
What to Eat with Canning Banana Pepper ??
I love eating this banana pepper when I add it to sandwiches and burgers and I love adding it to pizza too and I love it with a green salad and it is even great with pasta. This banana pepper goes with almost everything. It is really great.
Can I use any kind of vinegar for the brine ?
You should use vinegar with 5% acidity, like white vinegar or apple cider vinegar. Anything less might not be safe for canning.
How long should I process the jars in the water bath ?
Usually, 10 minutes is enough. If you live at a higher altitude, you may need to increase the time slightly.
Can I make them spicy ?
Yes! Add red pepper flakes, jalapeños, or other hot peppers to the jar.
Is it safe to double the recipe ?
Yes, as long as you maintain the same vinegar-to-water ratio and follow safe canning practices.
SAVE THIS POST TO YOUR FAVORITE PINTEREST BOARD !
Easy Canning Banana Pepper
Course: Sides, CondimentCuisine: American, Homestead, PicklingDifficulty: Easy4
servings25
minutes15
minutes10
kcal40
minuteshis easy and flavorful canning recipe preserves fresh banana peppers in a tangy vinegar brine. Perfect for topping sandwiches, pizzas, and salads, these homemade pickled peppers are a tasty addition to your pantry and stay fresh for up to a year!
Ingredients
3 pounds of fresh banana peppers about 15–20 peppers
5 cups white vinegar 5% acidity
1 cup water
2 tablespoons pickling salt or kosher salt, no iodine
2 tablespoons sugar
3 cloves garlic optional, peeled and sliced
1 teaspoon mustard seeds per jar optional
½ teaspoon red pepper flakes per jar optional, for a spicy kick
Directions
- The first thing you need to do is prepare the jars: Wash the jars, lids, and bands with hot, soapy water. Rinse them thoroughly. Place the jars in a large canner filled with hot (not boiling) water. Keep them hot while you prepare the peppers.
- Next, slice the peppers: Wash the banana peppers. Remove the stems and slice them into rings about 1/4 inch thick. If you prefer whole peppers, make a small slit in each one to allow the brine to absorb.
- Now, let's prepare the brine: In a large pot, combine the vinegar, water, salt, and sugar. Bring the mixture to a boil over low heat. Stir well to completely dissolve the salt and sugar. Then, arrange the jars: Carefully remove one hot jar at a time. Place a few garlic slices (if using) and optional seasonings in the bottom. Place the banana pepper slices tightly in the jar, leaving about 1/2 inch of space at the top.
- Add the brine: Use a ladle and funnel to pour the hot brine over the peppers until they are completely covered. Leave about 1/2 inch of space at the top. Remove any air bubbles: Use a non-metallic spoon or butter knife to run it along the inside rim of the jar to release any trapped air. Wipe the rim with a damp cloth. Then, seal the jars: Place the lids on the jars and twist the bands until they are airtight. Do not overtighten them.
- Water bath processing: Place the sealed jars in boiling water in the canner. Ensure the water covers the jars by at least 2.5 cm. Process for 10 minutes and adjust the height if necessary. Finally, cool and store: Remove the jars and let them cool, undisturbed, for 12–24 hours. Ensure the lids are secure (they should not pop off when pressed). Label the jars with the date.
Notes
- Wear Gloves Even though banana peppers are mild, the oils can irritate your skin or eyes especially if you touch your face afterward.
- Add Garlic or Onions for Flavor A slice or two of garlic or onion per jar adds depth and makes them extra tasty.
- Let Them Sit Wait at least 1–2 weeks before opening a jar to allow the flavors to develop fully.
- Keep Extra Brine Ready Always prepare a little more brine than you think you’ll need. It’s better to have extra than to run short while filling jars.